For this new blog post, here is a delicate and poetic DIY : an embroidered frame.
I’m always looking for new creative ideas, and I thought that I needed to create a new home decor object.
Mainly because a lot of you guys really enjoyed my previous DIY : how to make a terrarium. You were numerous to read, like and share this tutorial !
As always, I’m so grateful for your support and your comments on my blog or Instagram ♥
For this DIY, I used the beautiful silver frame that I received for Christmas (it’s a long time ago I know, time flies so fast !). At this time of the year, I didn’t know what to do with it, and I saved it for a future DIY. Today is finally the day, and I’m really happy to share this lovely pastel embroidered frame.
As usual, all the explanations are down below to help you through the creative process !
And finally, I would like to announce that it’s not too late to purchase the latest editions of the Créative magazine and the DIY Creative guide of paper 2018 (and check my DIY collaborations inside) !!
Happy DIY !
what you need :

one A4 sheet of pink thick paper, a frame, the A4 sheet of pattern to download below, scissors, pen, thread needle, white embroidery thread
Before starting, click here to download and print the pattern on one A4 sheet of white paper.

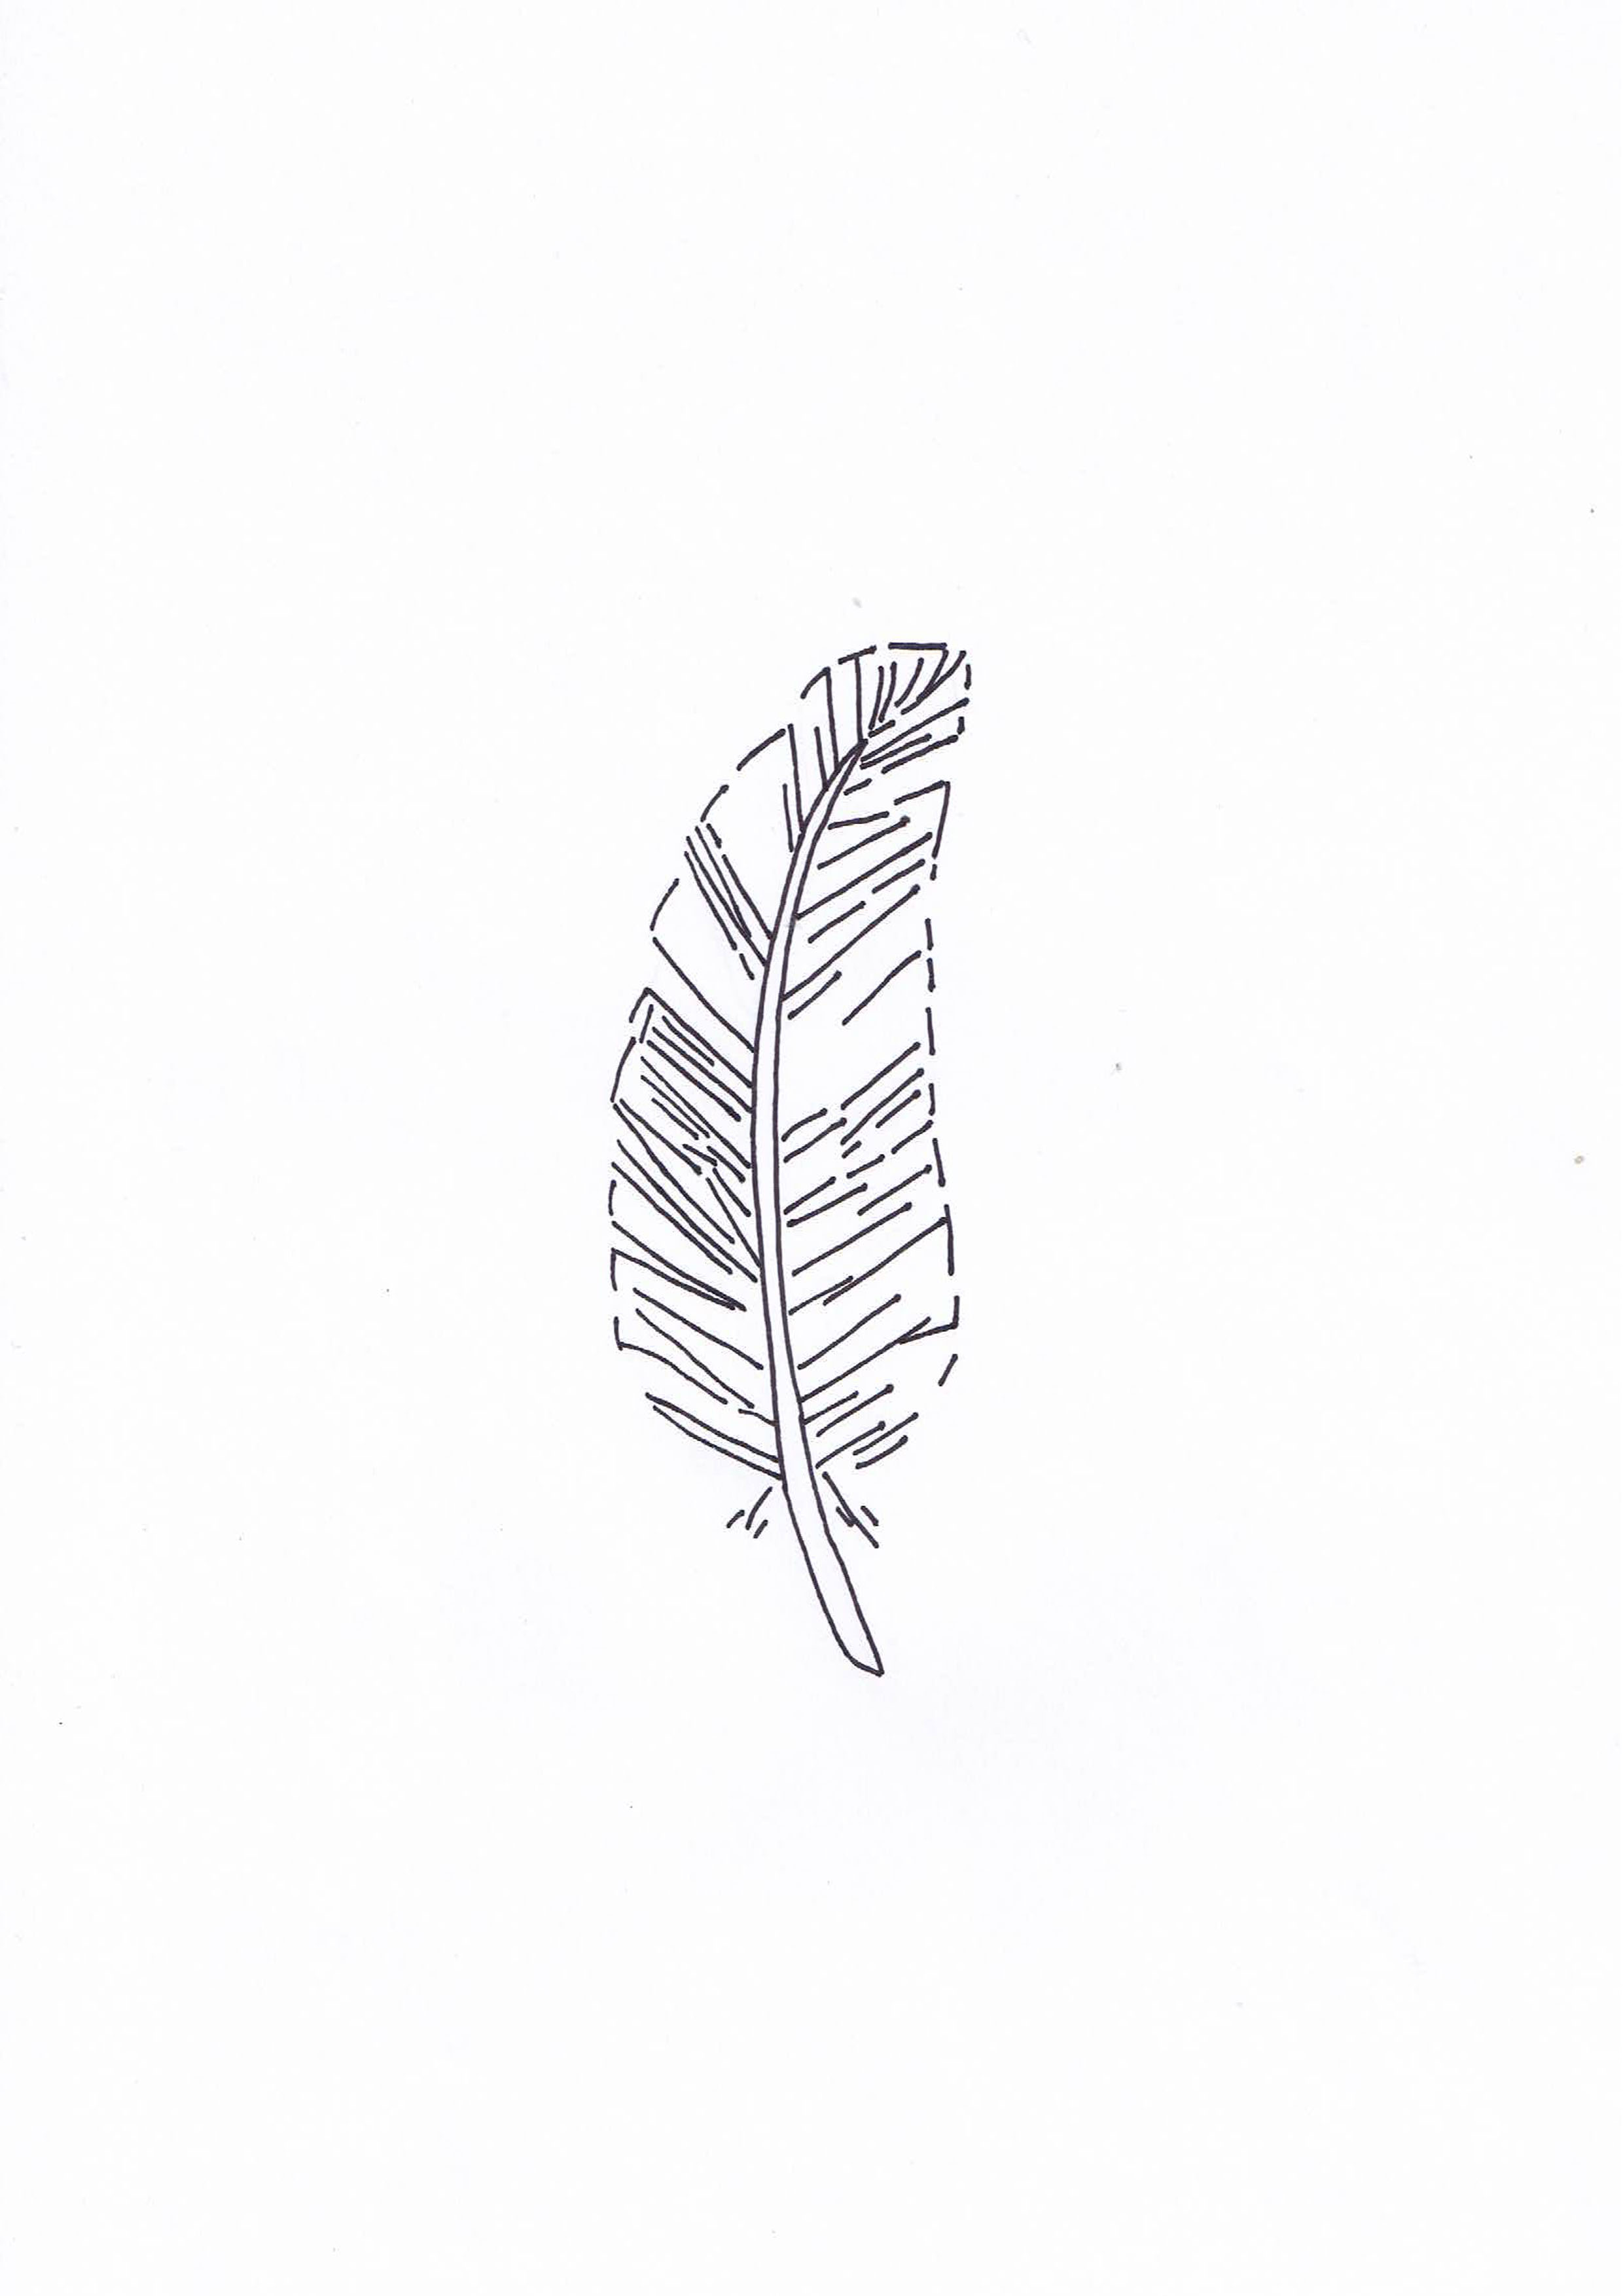
1/ Draw the feather on the thick colored paper, using the A4 sheet of pattern that you download below as an example.
You can use your window to report the drawing : place your A4 sheet of pattern, then place the pink A4 sheet on top. The drawing will appear by transparency. All you will have to do, is following the lines using a pencil.

2/ Perforate the paper using a needle. Follow the lines that you draw on step 1.


3/ Take your embroidery thread and your thread needle. Then embroider the feather following the lines on the perforated paper. Use this thread only to contour the feather and to fill in the center of the feather. The goal is to create lines.
Then take one single embroidery thread, and tear it appart in two sections. This will decrease the thickness of the thread and create volume on the feather. Use this thin thread to fill in the inside (details) of the feather.

4/ When you’re done with the feather, place your paper inside the frame on the reverse side. Then secure it.
You’re embroidered frame is now all done ! This beautiful frame will make a lovely home decoration in your room, on your desk, in the living room ….


Feel free to leave a comment if you liked this home decor DIY ♥

Pin it on Pinterest :

Céline Lunakim


2 Comments
Wow, it looks amazing ! Great DIY 🙂 Thanks for sharing !
Thanks Sisi for your lovely comment ! Hope it can help you create a beautiful frame 🙂