Recently, I’ve been obsessed with interior plants …
For the How to make a terrarium blog post, I bought a small plant called “Crasulla” (succulent).
However, I’ve been quite busy these last few months, and I didn’t took the time to find her the right pot. She was still in her plastic pot (I know it’s bad) …But it was the perfect occasion for a new DIY ! So, I decided to find an old terracotta pot, and to do a makeover !
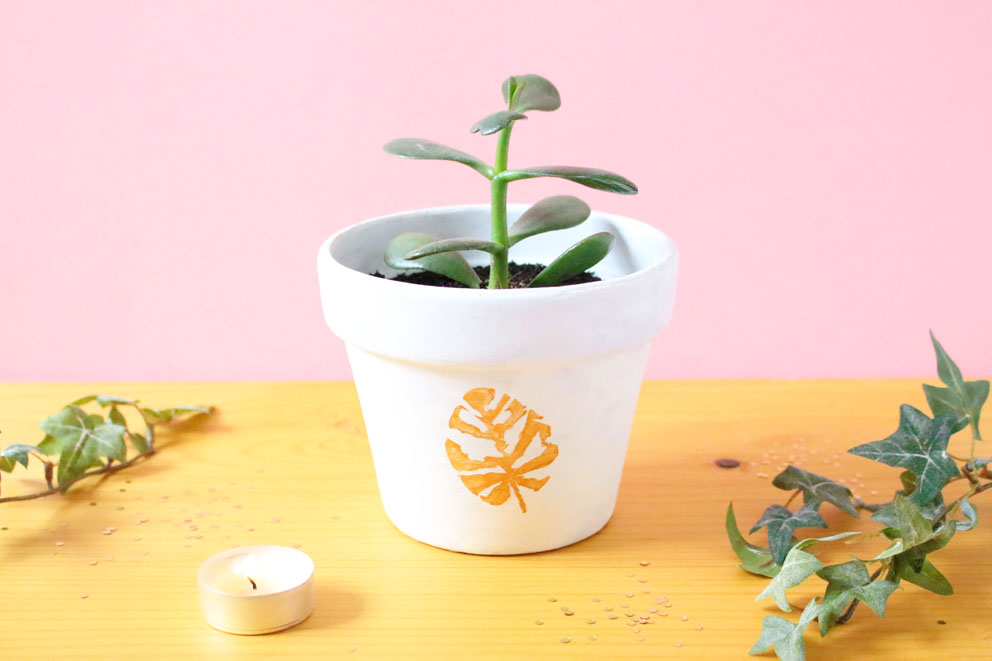
I went for a delicate and poetic theme (as usual), to enhance the pot. I used white and gold paint to create a beautiful leaf on a white cloud … So dreamy ! This DIY is really easy and doesn’t take too much time. This pot can change a whole room decor ! Here are the steps and the photography to redo this tutorial !
Happy DIY ❤
What you need :

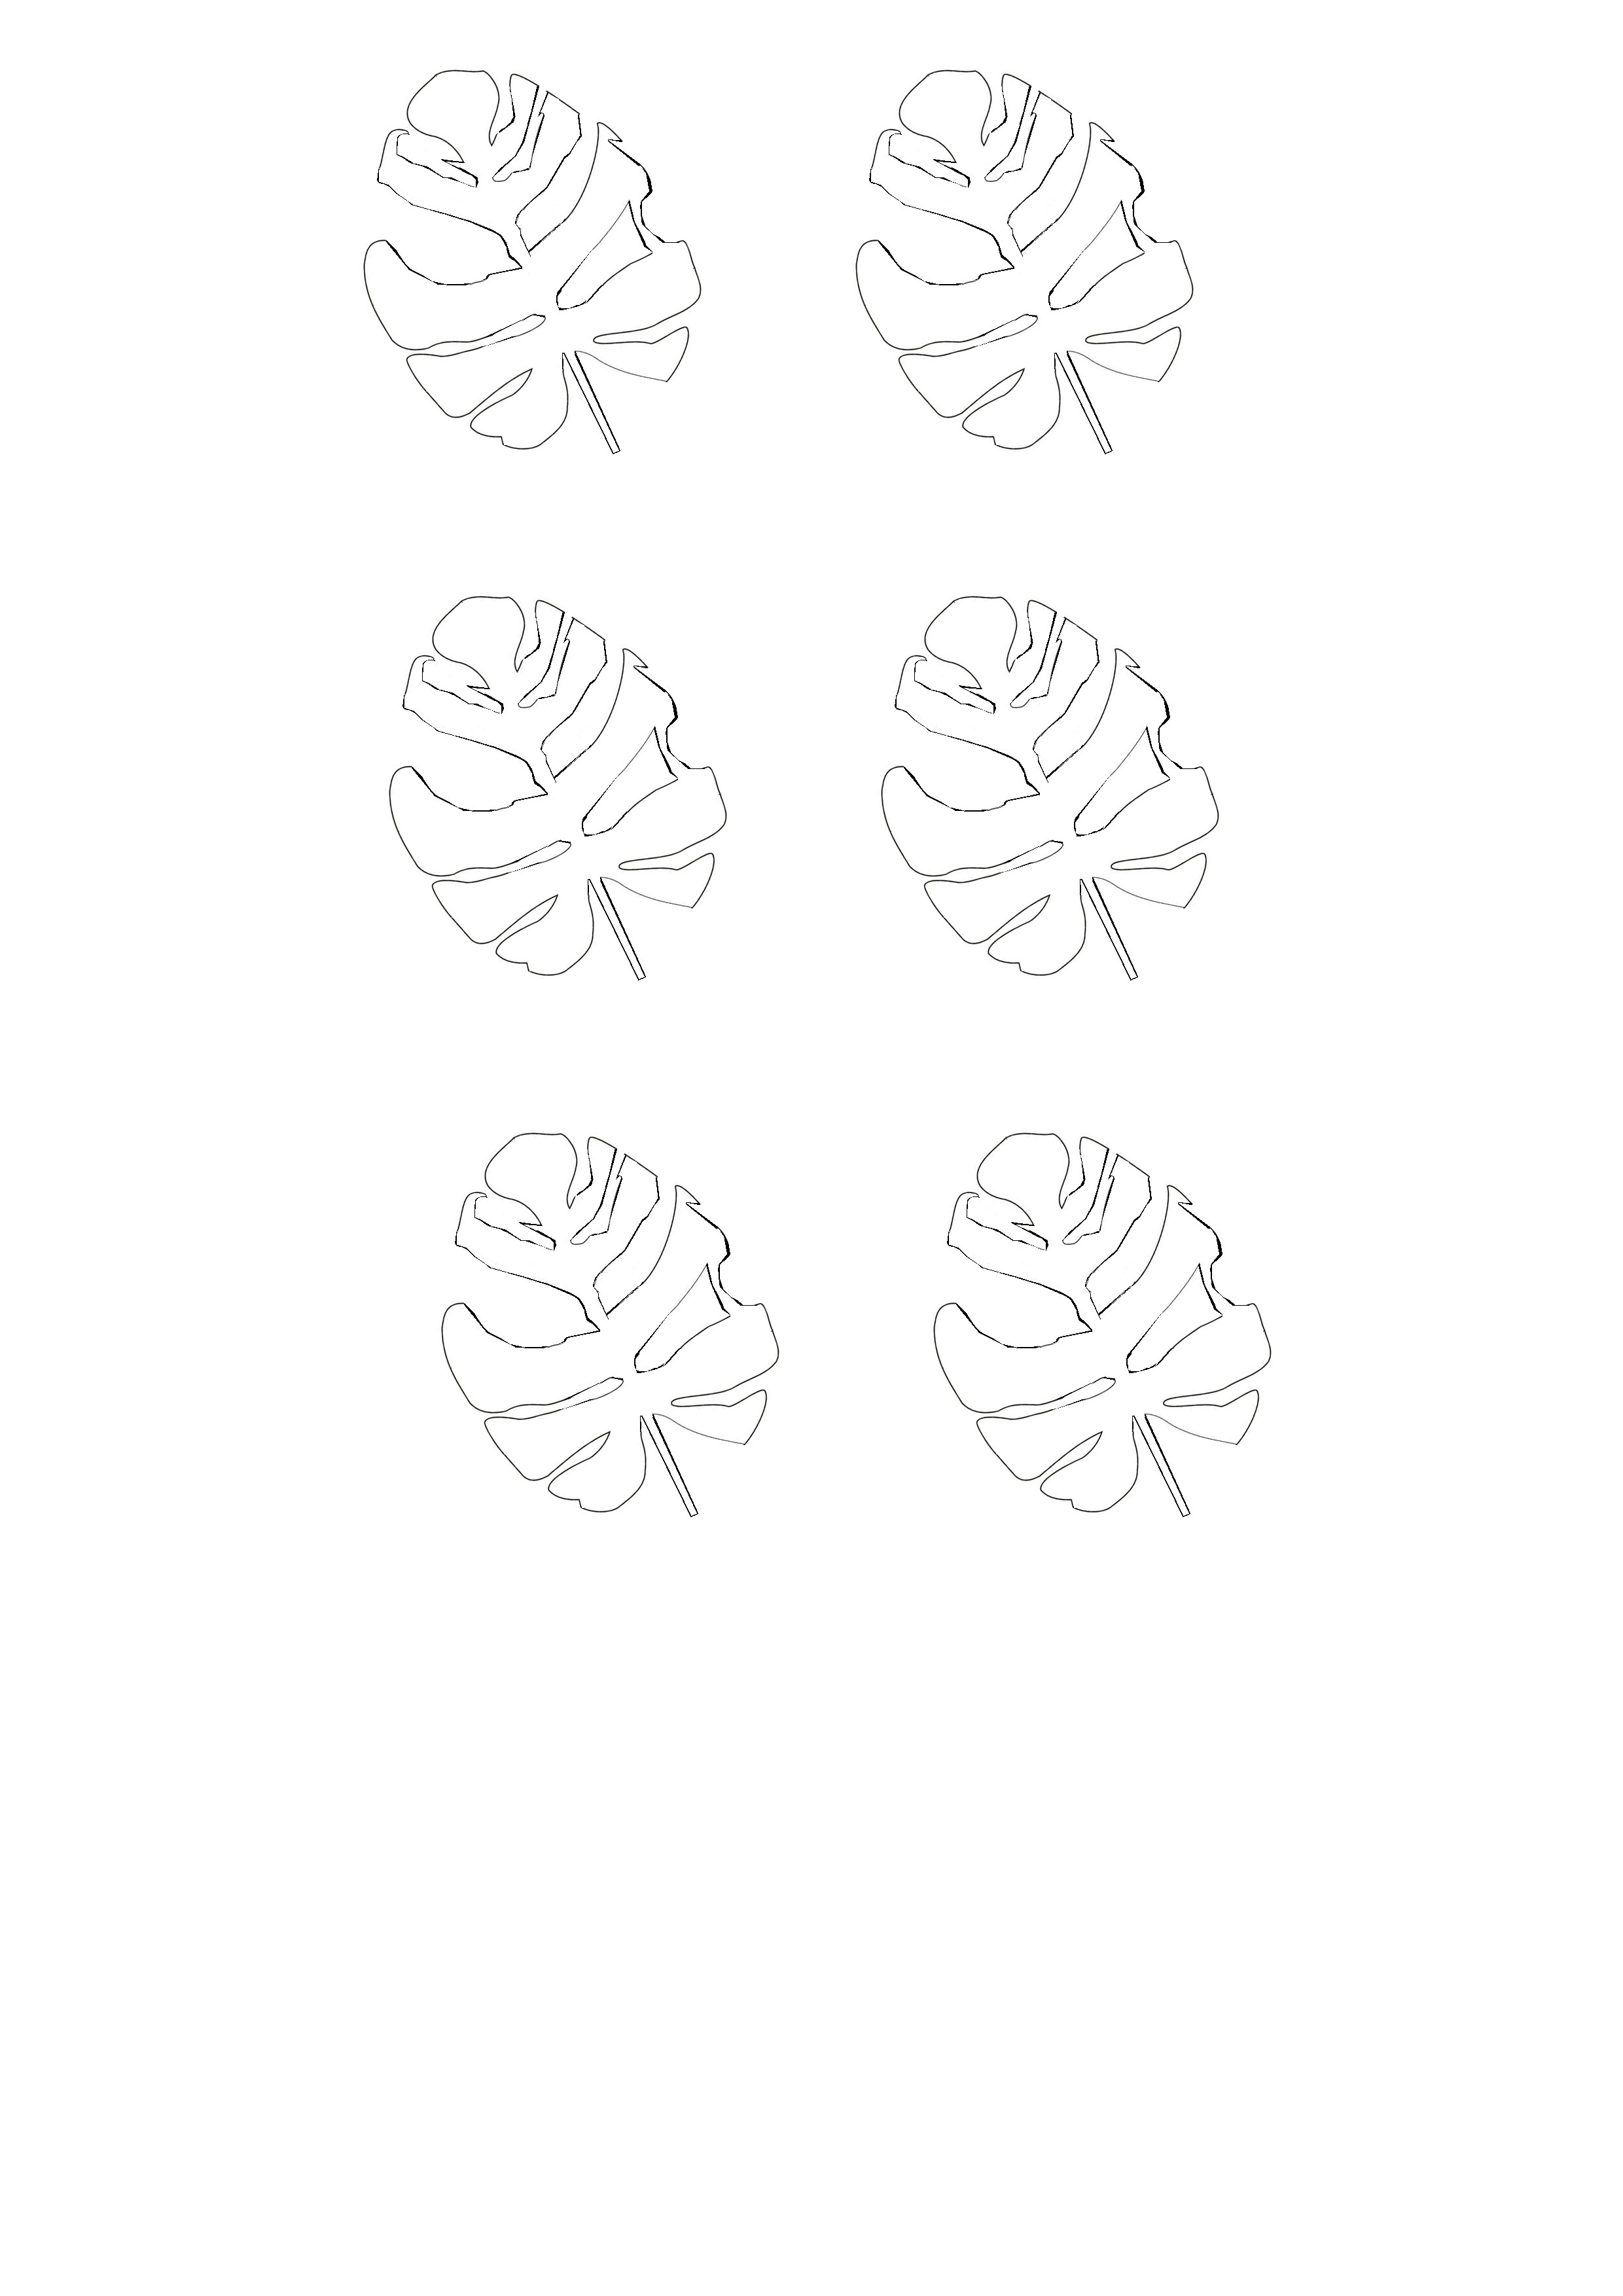
a terracotta pot, a plant, white and gold acrylic paint, one medium and one small paint brushes, non adhesive tape, scissors, and the sheet of pattern (to download below)

1/ Using a sponge, remove any residues on the pot. Paint the entire terracotta pot in white using the medium paint brush. Don’t forget to paint inside the pot (interior flange). Let dry.
Apply a second layer of painting on the pot to create/obtain an opaque white. Let dry.

2/ Print the pattern on ibe A4 sheet of white paper (click here to download).
Cut the paper around the pattern in a square (cf image). Then cut the inside paper of the leaf to create a stencil.

3/ Put your stencil on top of the pot. Use non adhesive tape to hold the stencil. You can add small pieces of non adhesive tape inside the stencil to maintain it (cf image). Don’t worry if it leaves white gaps, because you can always add gold painting after.

4/ Fill the stencil with gold paint using the small paint brush. Apply a light application of paint over the pot using a tapping and pressing motion. Be careful to not move around the paper or else it will smudge (or tear apart). Let dry.

5/ Remove delicately the non adhesive tape and the stencil. Don’t worry if your leaf pattern is not exact. You can always add a little bit of paint to touch up the edges of the pattern.

For my DIY, I decided to not touch up the pattern and to leave it as it is. I feel that it gives a vintage and natural look to the pot.
To finish this DIY, you will have to add your plant. Fill the bottom of the pot with rocks. This will create a false drainage layer so water can settle and not flood the plant. Then add the potting soil on top of the rocks. Dig a well in the potting soil using your fingers, and place your plant. Then compact the potting soil down around the base of the plants using your fingers.
This lovely terracotta pot will add a nice touch to a room and will enhance your interior. This time, I decided to put my gorgeous pot in my office, on a shelf. The small plant gives a nice green vibe, and is looking adorable with this creative terracotta pot !
 Find here the tutorial of the embroidered frame just behind !


Feel free to leave a comment if you liked this home decor DIY ♥

Pin it on Pinterest :

Céline Lunakim


No Comments