
After the summer break, I would like to introduce you to my latest tutorial of mini postcards. Nowadays, we have the ability to connect anywhere in the world and at any place: internet, text messages, skype… Everything is possible, fast, and very convenient! However, I find that the postcard has its little effect with its charm and handwritten words. That’s why I decided to create my own model, which I could then send to my friends. ♥ Enough chatter, here comes the Do It Yourself!
What you need:
- a thick sheet of watercolour paper
- a brush
- a small container to pour your water
- watercolour paint / drop dark green and black
- tapestry tape / masking tape
- a rule
- a pencil
- a white pen

1/ Cut two rectangles 9.4 cm (width) by 13 cm (length).

2/ To create a white frame around the cards, take the tapestry tape and place it on the edge of the card, 0.5 cm from the edge (see image). Repeat this step for the other card.

3/ Take your brush, soak it in water, and mix dark green and black paint. This will produce a very dark green that will add depth to the map. Apply it to the bottom of your card (see image).

4/ Gradually dilute the color, adding more and more green, and less and less black. Cover the entire map with your brush and paint. This will give you a very nice gradient effect. Don’t panic if you overflow, since we have put pieces of tape to delimit the frame. Repeat this step for the other card. Allow it to dry well (30 minutes), then gently remove the tape. Take your time for this step. If you remove the tape before the paint is dry, the outline of the white frame will not be smooth or stain-free.


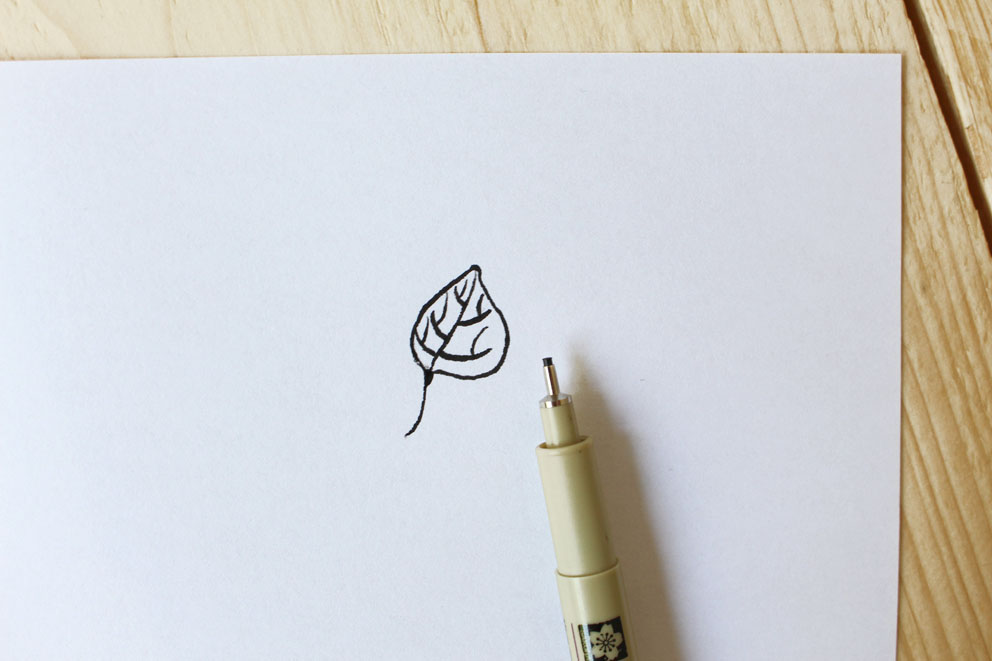


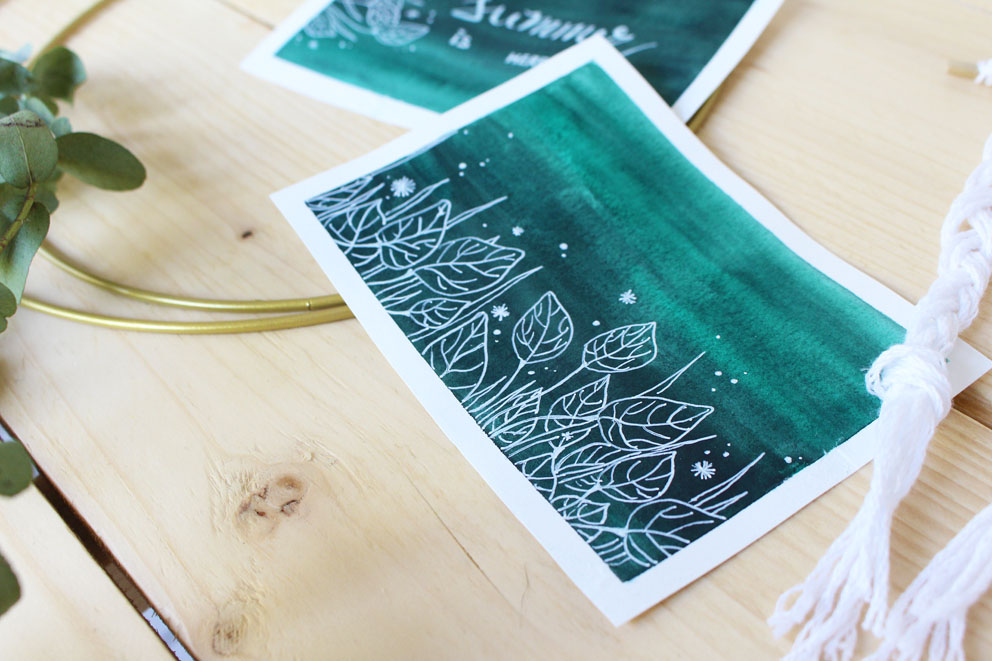
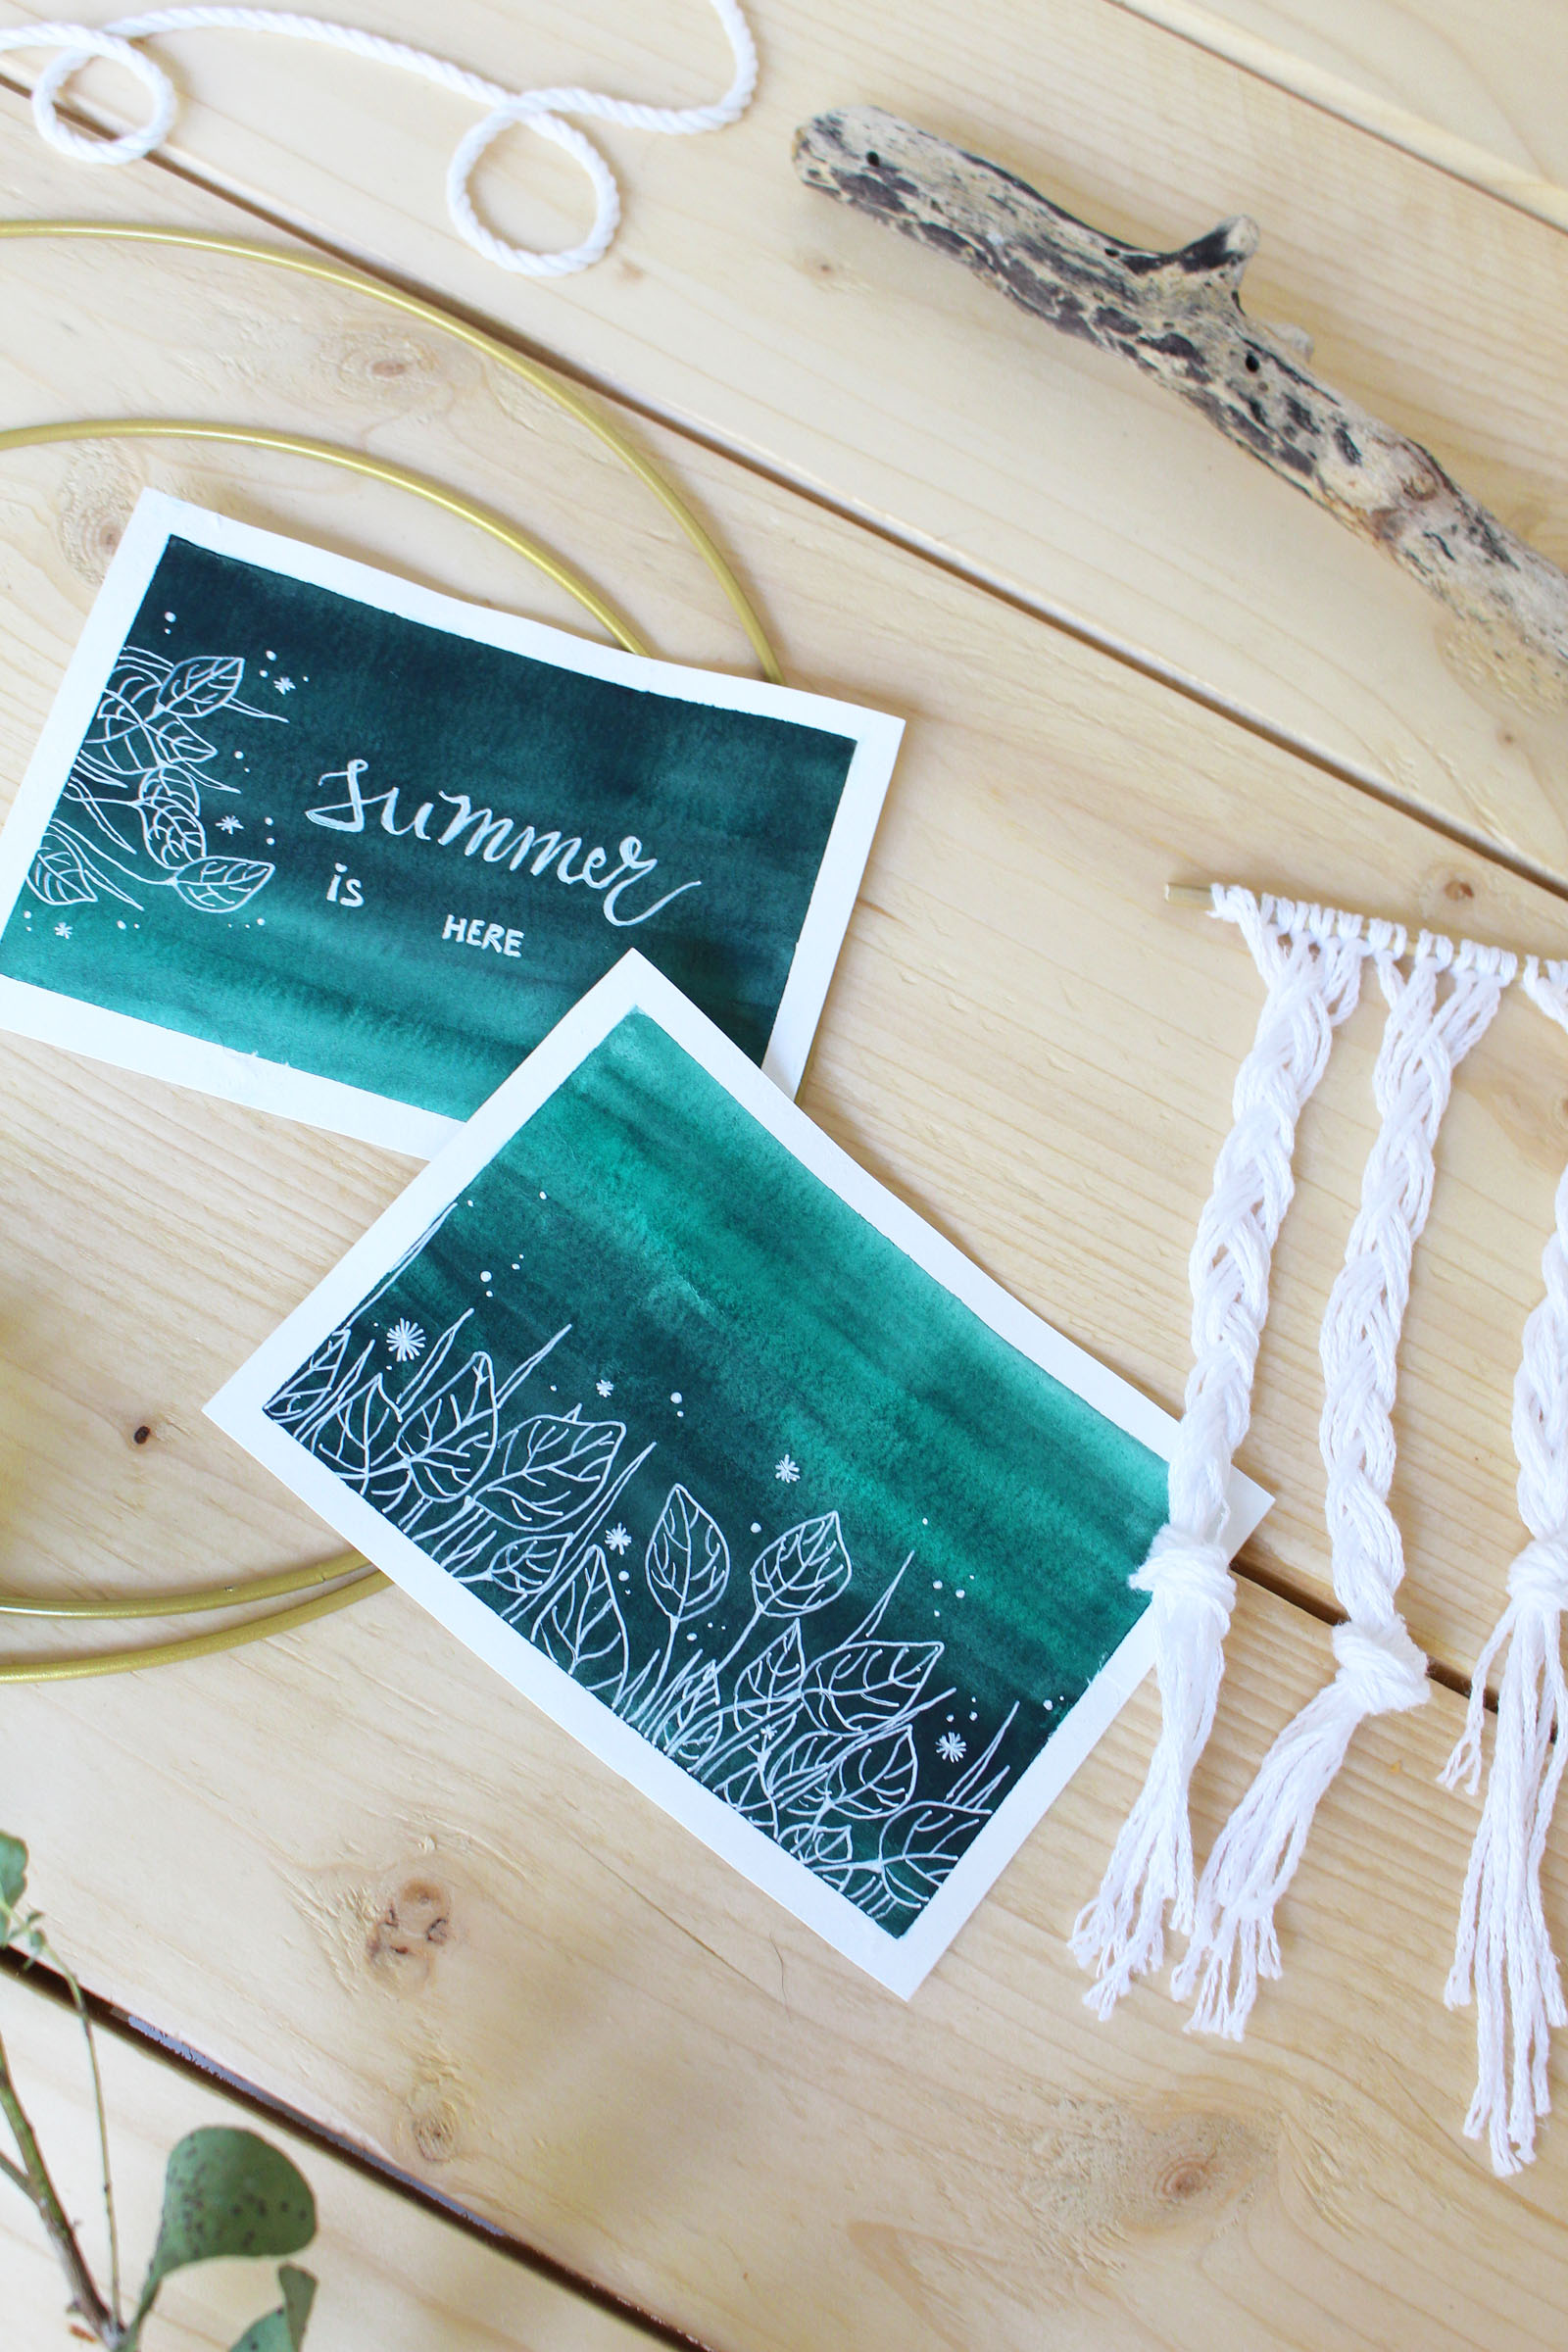
5/ Once the background is made, it is time to move on to the illustration! Yeaaaaah 🖌 As usual, I chose small doodles (illustrations) that are very simple to make. You can follow the step-by-step process in the picture above. On the cards, I used a white pen (gel type) to make the patterns stand out on the background. You can add stars, small circles, herbs, other types of leaves… Have fun creating the design of your choice!

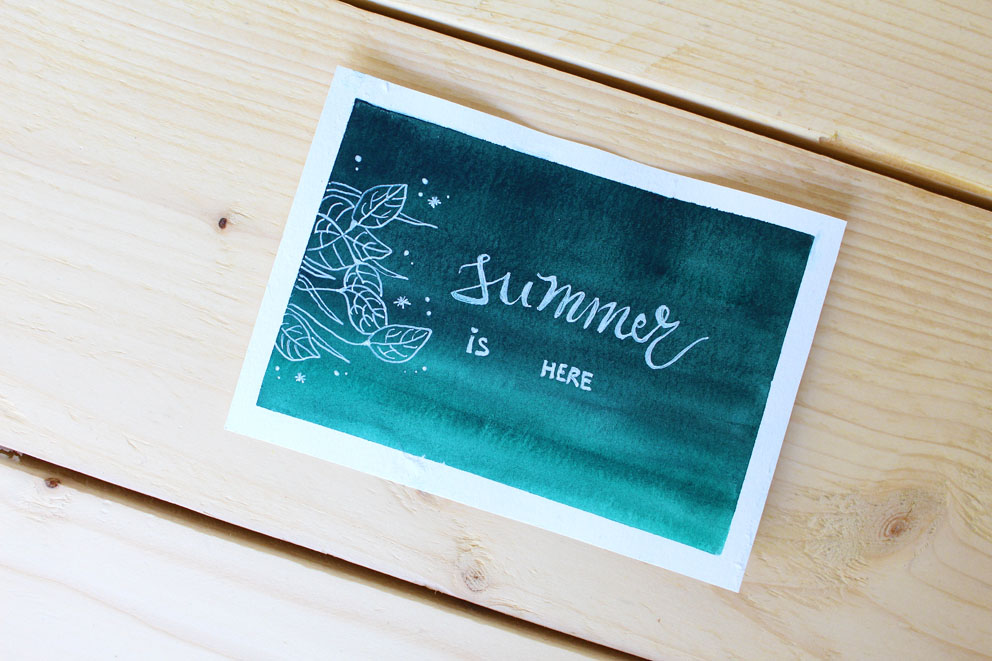

For the second card, I chose to make the pattern only on the side. I then wrote “Summer is here” in calligraphy/lettering. You can find many free text templates on Pinterest. I advise you to print the sentence of your choice, then trace it to reproduce it more easily on your card.
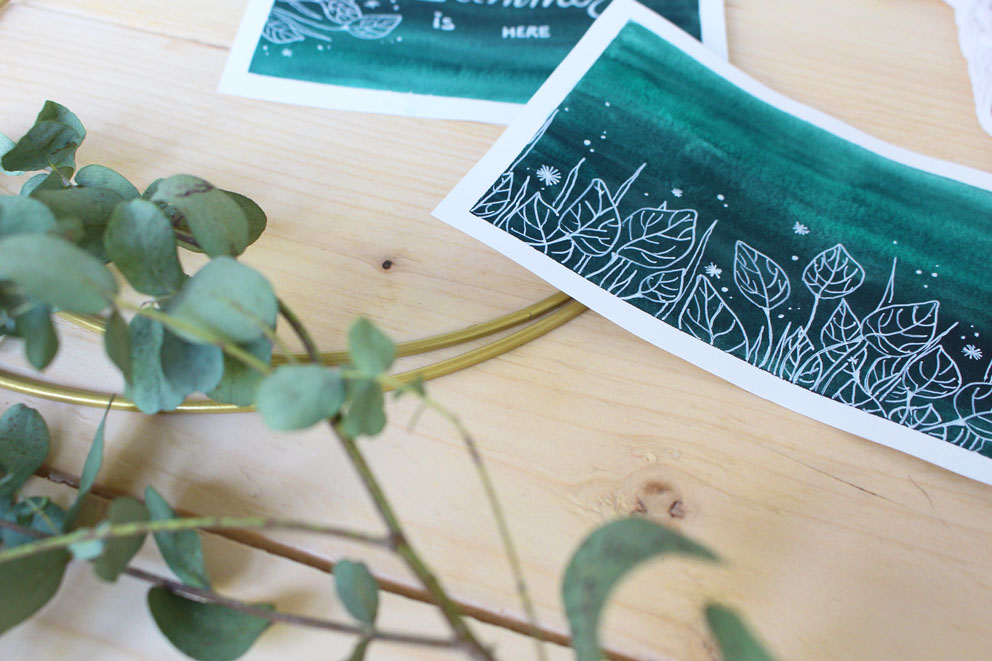
Before sending them, remember to put them flat under a book so that they become straight, not warped.
Ta-da! What do you think? 🙂 Would you be ready to reproduce this model? Do you like this kind of DIY? Feel free to share your opinion 🙂

If you liked this DIY, feel free to leave a little comment ♥


Save to Pinterest
Céline Lunakim


No Comments