
Here is my latest and beloved DIY that I created.
Not too long ago, I try a new method to add print on fabric, and I’m really proud the way it turns out. So, I wanted to share it with you guys !
I’ ve always been a pillow lover since it can decorate any room : living room, bedroom, corridor, terrace … And its really affordable ! And, you can try so many different styles : printed, patterns, hand made… I already made a bunch of DIY on my blog, but this one is by far my favorite ! And I have a huge crush for feathers. (I already planned to decorate my future apartment with these pillow cases).
I’m also really happy to announce that I’m working on the new design of my website (so stay tuned) ! Well, enough talking now. I hope you will love this DIY as much as I do ❤.
What you need :

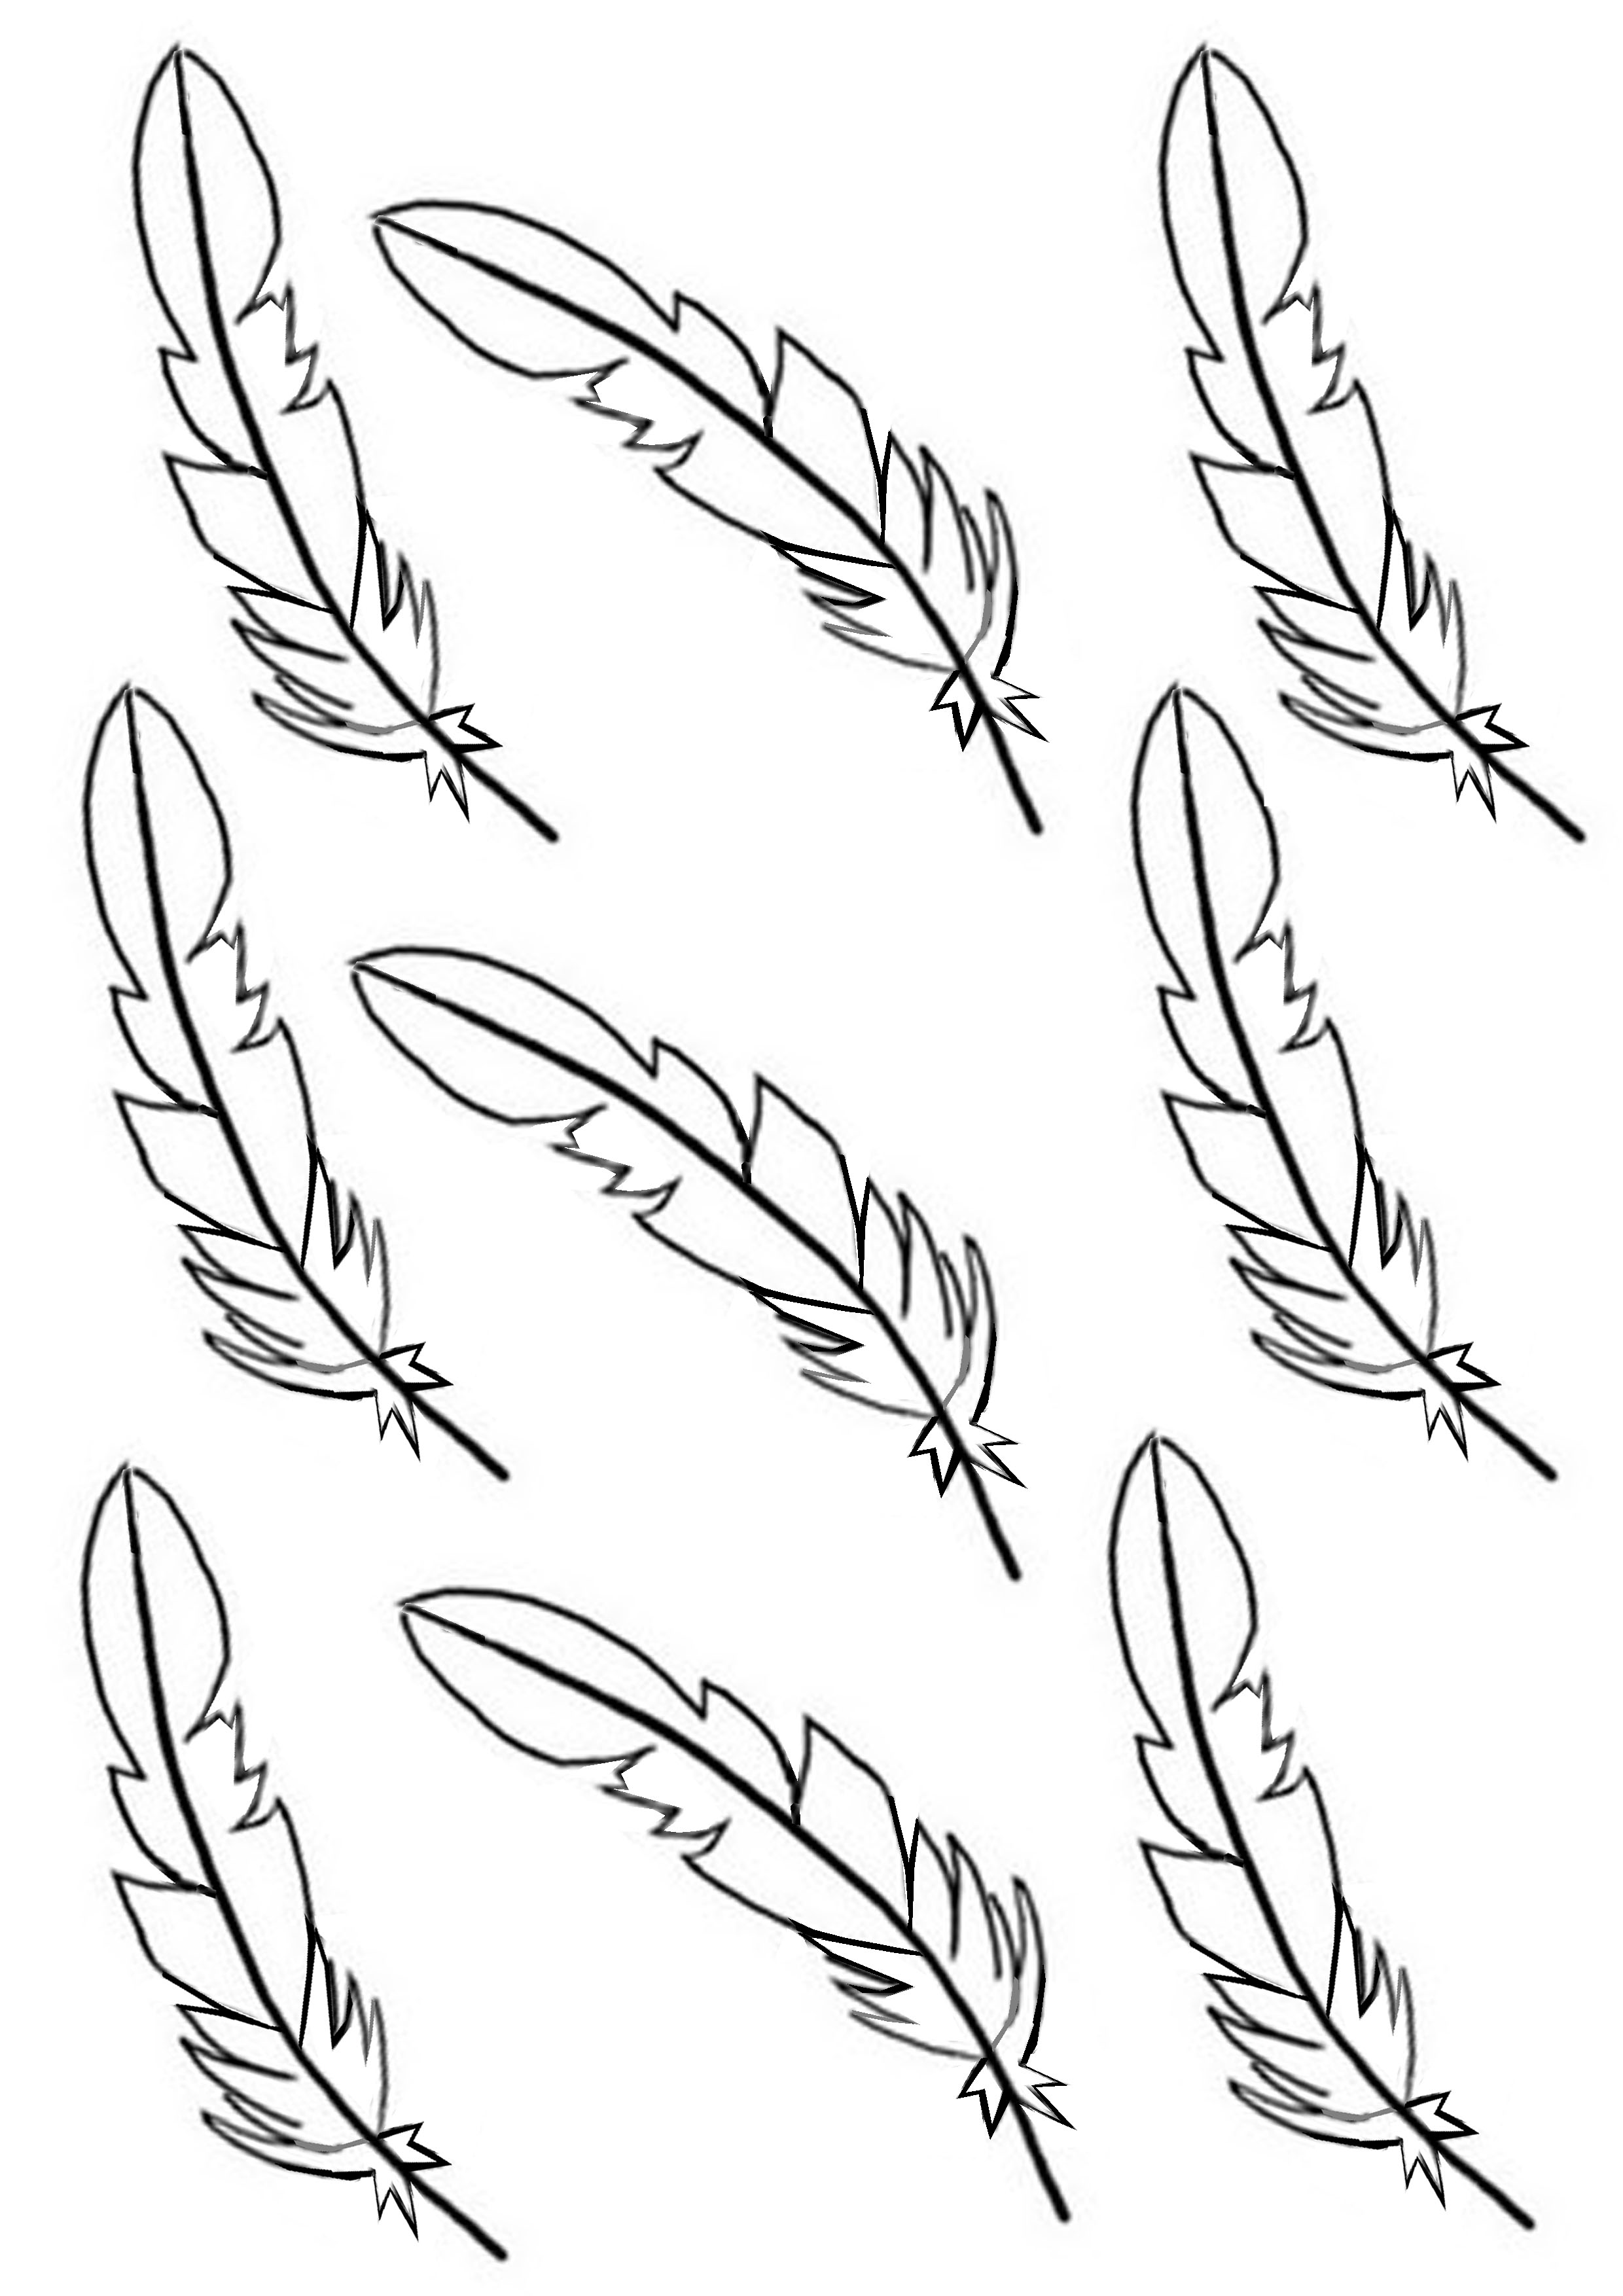
blue pillow case, paintbrush, white fabric paint (or acrylic), & the feather pattern to download here.

Step 1 : print pattern on two A4 papers. Separate each feather by cutting the paper around.

Step 2 : Cut the inside paper of the feather to create a stencil. Repeat this step for each feather.

Step 3 : Put you pattern paper on top of your pillow case. Try to imagine the pattern you want before painting. Tip : remove the pillow from the pillow case before painting. It’s better to place a cardoard under your pillow case to prevent smudging.

Step 4 : Fill the stencil with white fabric paint (or any other color you like). Apply a light application of paint over the pillow case with a paintbrush by using a tapping and pressing motion. Be careful to not move around the paper or else it will smudge. Tip : hold the paper with your fingers to prevent from moving.
Use a new stencil each time; The already used stencil will be soaked with painting and will stained the pillow case.

Step 5 : Then let it dry and repeat the same steps over and over, until you cover the pillow case with patterns. Voilà : a beautiful handmade custom pillow !


Pin it on Pinterest :

Céline Lunakim


No Comments